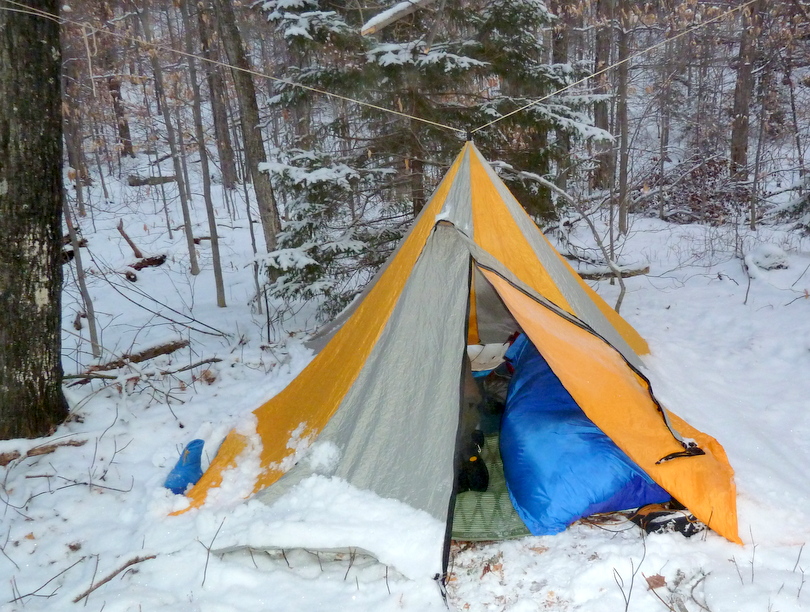
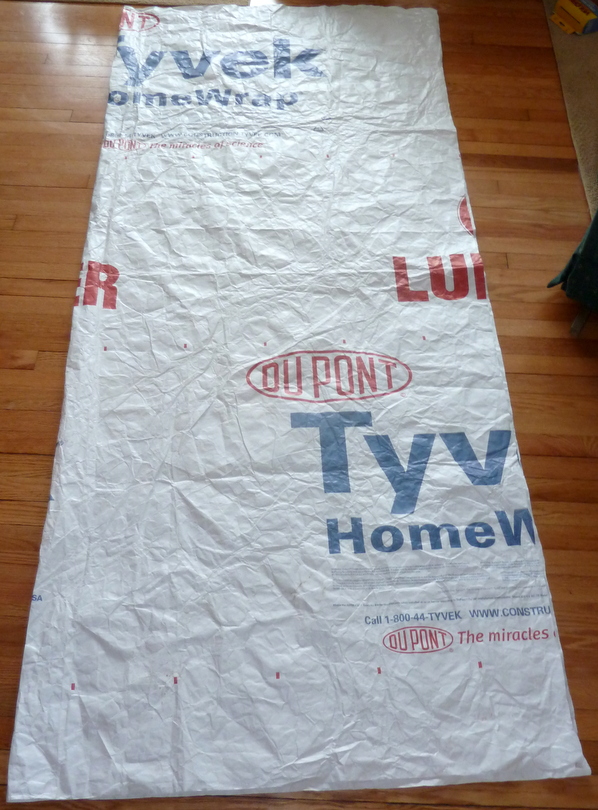
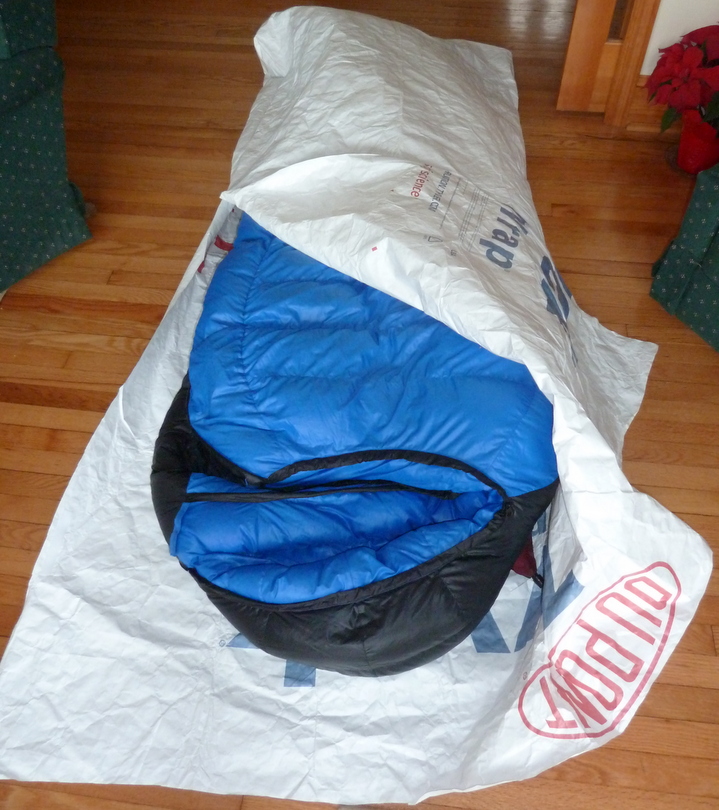
I had a couple of pieces of 9′ Tyvek left over from the home remodeling that I wanted to experiment with for camping applications. I took a piece to use as a ground cloth in my megamid tipi when we winter camped on Peaked Mountain.
The piece had been left over when the patio doors were installed in the living room and it was just about the right size for making a bivy sack. I had washed it so it wasn’t super crinkly sounding. I roughly followed the directions given in the 2nd half of this video.
DIY $5 Tyvek Sleeping Bag Bivy
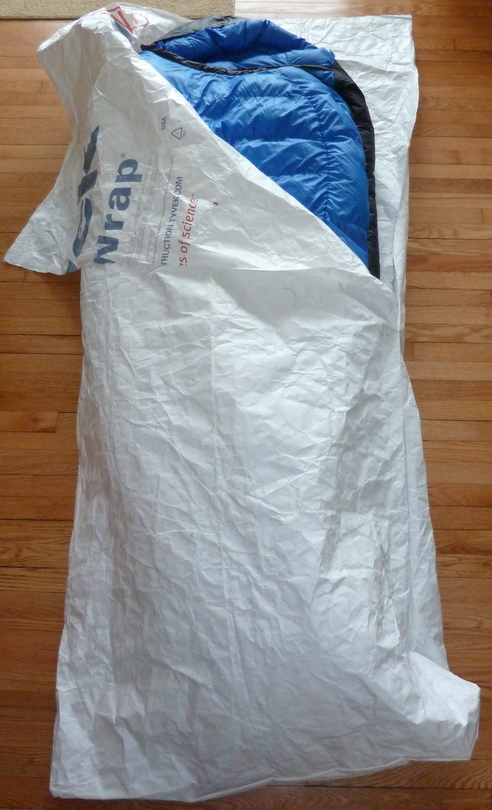
I set my largest sleeping pad down with my overstuffed Western Mountaineering Puma winter sleeping bag. I folded the Tyvek over everything and trimmed it to provide a generous fit. The two concerns I have of bivy sacks are:
- They can be confining and restrict moving around during the night. If someone is claustrophobic they may not enjoy sleeping in a bivy.
- Condensation from the occupant gets captured inside the bivy and can moisten the sleeping bag.
Hopefully, the generous cut will enable ventilation. My main goal for the bivy is to keep my sleeping bag out of the snow if I am winter camping with a floorless tipi or tarp.
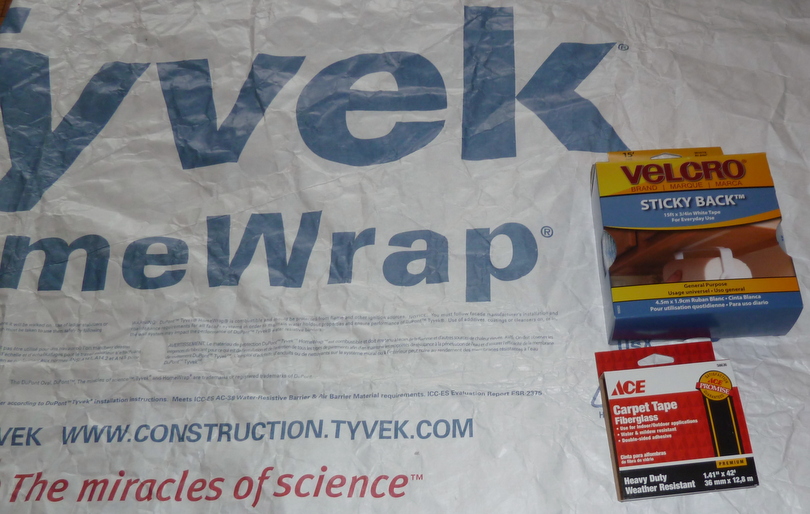
In my research I heard of DIY Tyvek projects that sewed seams and glued them but the use of double-sided carpet tape seemed to make the most sense to me. It is was quick and relatively easy to apply once I figured out how to remove the film.
I taped the bottom of the bivy and half-way up the side to approximately waist height. I turned the bivy inside out so the Tyvek advertising was on the inside.
I applied two tabs of sticky backed velcro such that I could secure the top half, if desired. Two views of the he finished product.

